The Process of Professional Skylight Installation
Adding a skylight to your home can transform a room by introducing abundant natural light, enhancing views, and potentially improving ventilation. While installing a skylight might seem like a complex DIY project, the importance of proper techniques and avoiding costly damage cannot be overstated. Let's explore the intricate process professional installers undertake to ensure a flawless, long-lasting skylight installation.
1. Consultation and Planning
The first step involves a detailed consultation with a skylight professional. They'll assess your home's structure, roof type, and specific needs. Factors like room size, desired light levels, and potential placement options will be carefully considered. The expert will then determine the ideal skylight model size and any necessary permits.
2. Site Preparation
The installation area must be prepared before any work begins. Furniture and valuables are protected inside the home to avoid dust and debris. In the attic, insulation is moved to expose the rafters and allow the installers to locate the ideal spot based on the structural layout.
3. Creating the Opening
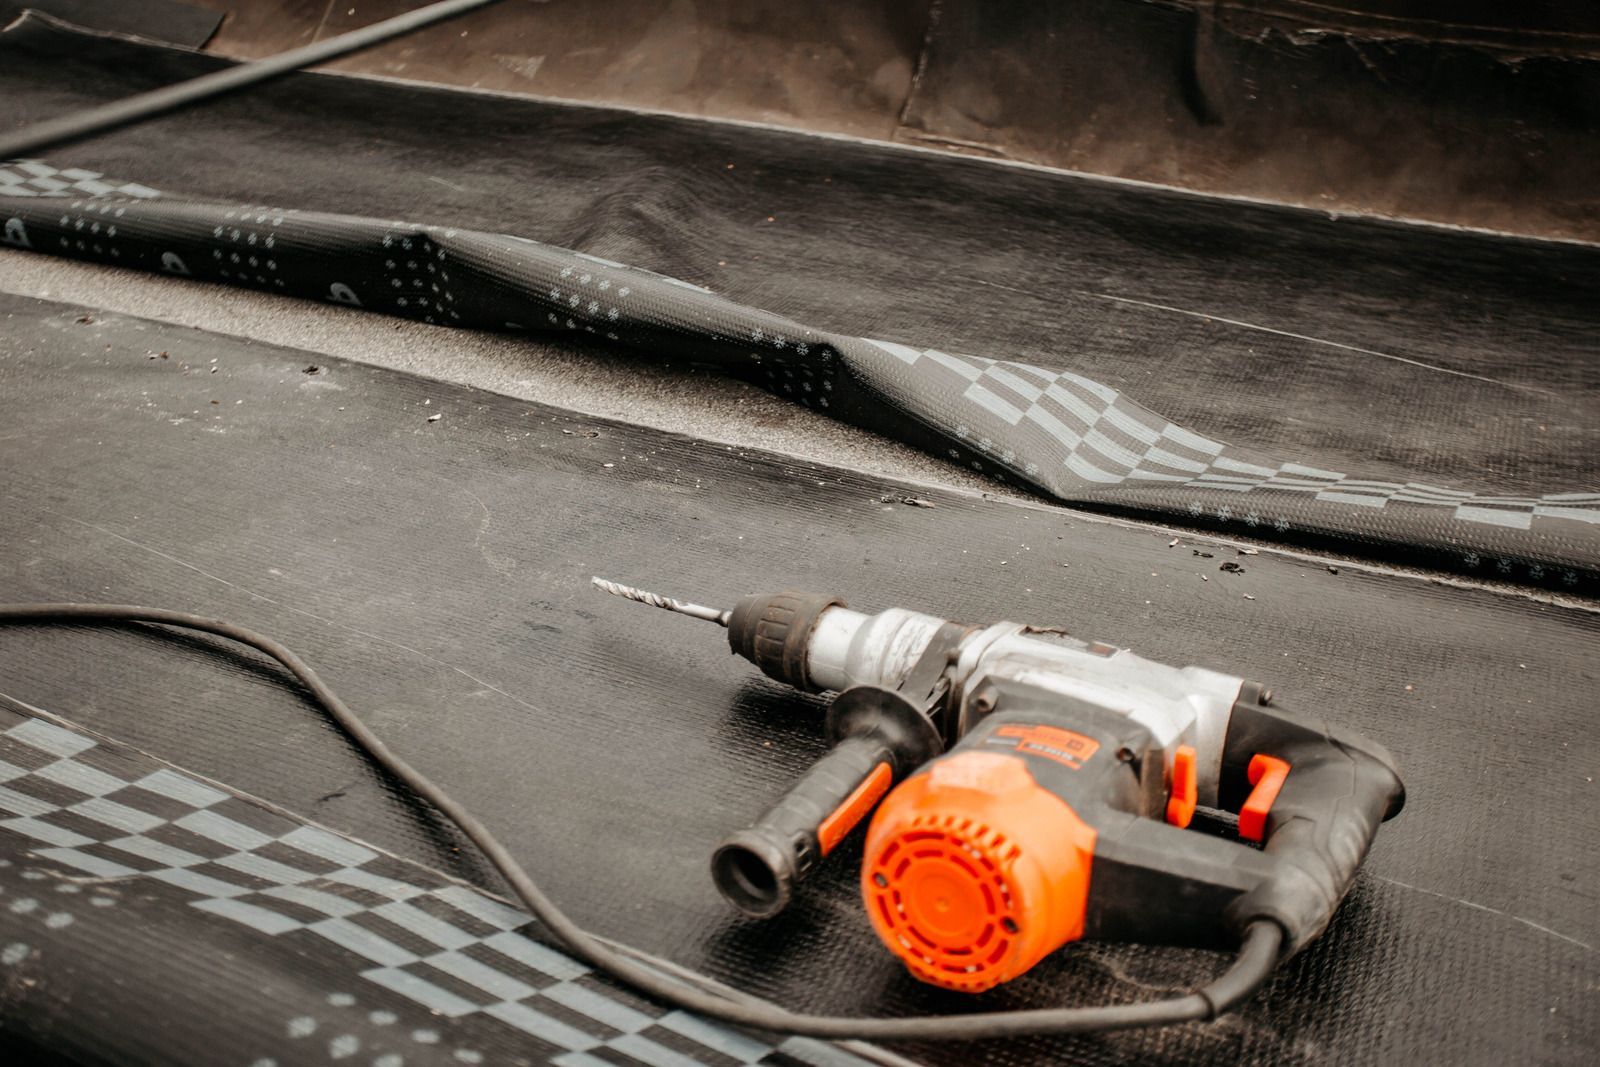
Precision is vital when cutting into your roof. Installers mark the opening's exact dimensions based on the selected skylight. They employ specialized tools for cutting through the roof sheathing and shingles, always preventing damage to surrounding roofing materials and structures.
4. Framing and Flashing
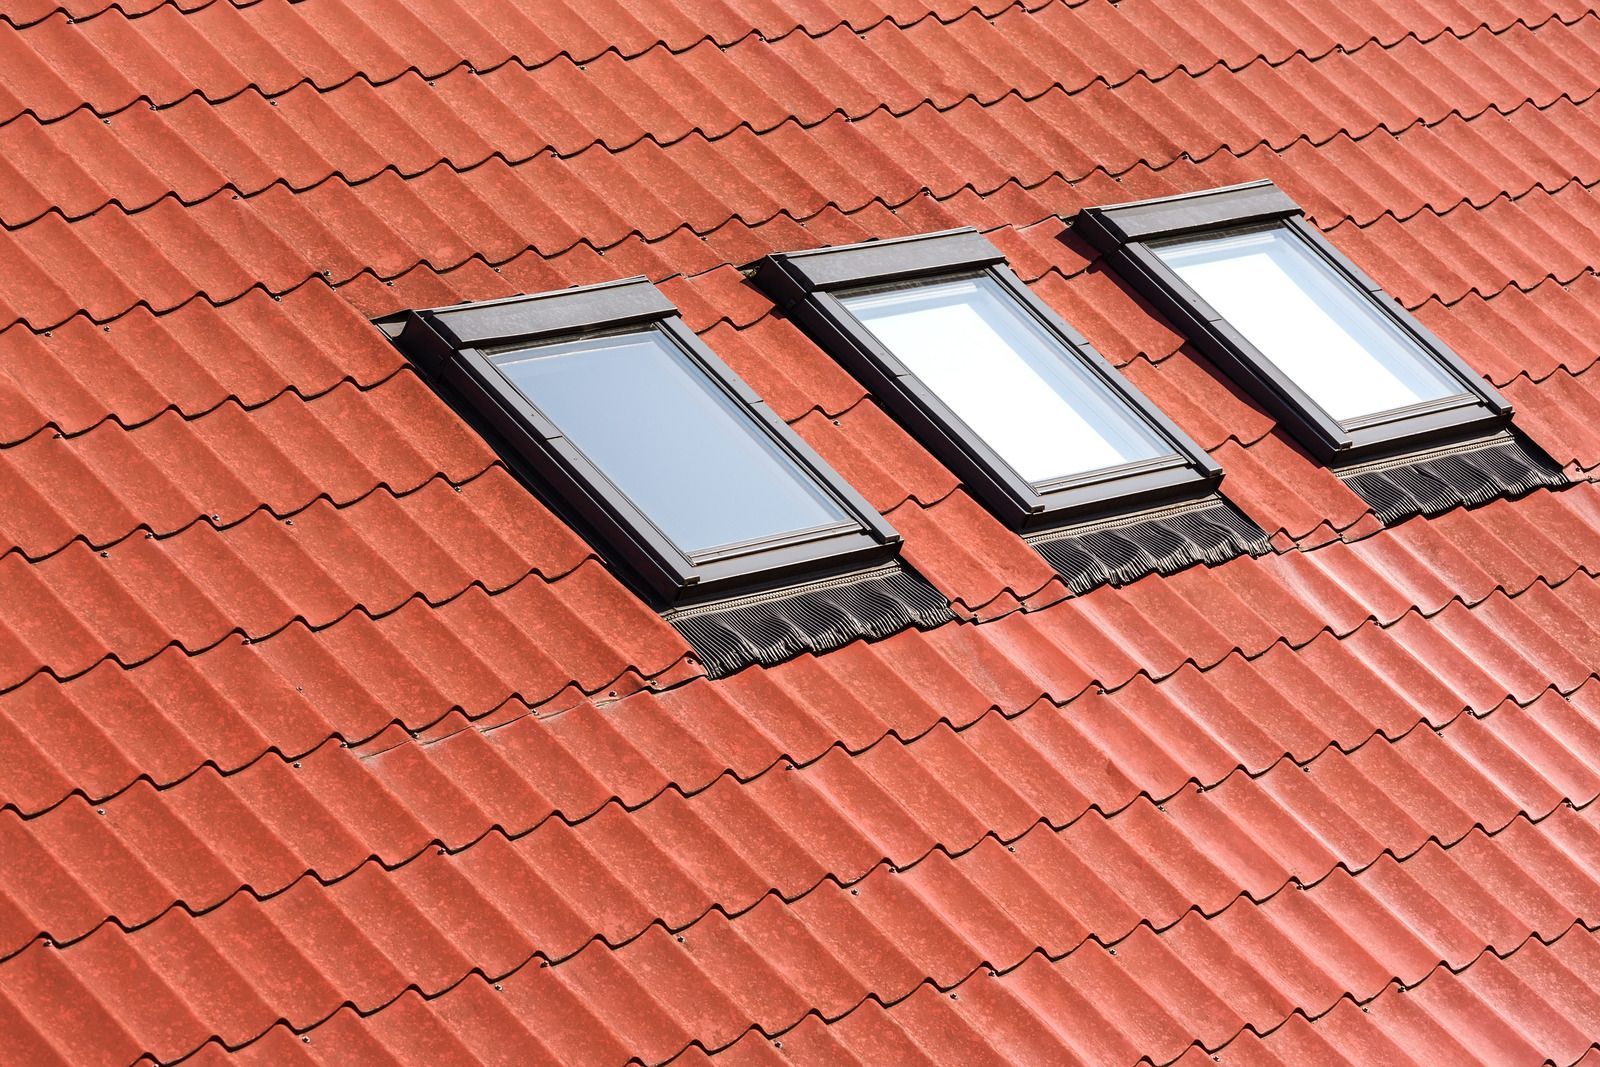
If necessary, the installers might reinforce and build a framed structure to support the skylight securely. Next comes the critical step of installing flashing. Flashing is a series of weatherproof metal pieces designed to integrate the skylight into the roof seamlessly. Proper flashing installation is imperative to deter water leaks and ensure the longevity of your skylight.
5. Skylight Placement and Sealing
The skylight is carefully lifted and placed into the framed opening. Installers secure the skylight to the framework using the appropriate fasteners and manufacturer recommendations. They apply sealants around the skylight's perimeter to form a watertight barrier, effectively preventing potential leaks.
6. Shingle and Underlayment Installation
With the skylight in place, the focus shifts to restoring your roof's protective layers. Installers install underlayment materials, weave, and overlap new shingles around the skylight, working their way up. Flashing elements are cleverly integrated with the shingles to establish a completely weathertight seal.
7. Interior Finishing
The skylight installation process extends to interior finishing work. This could involve building a drywall shaft from the ceiling to the skylight and precise trimming, insulation, and painting or staining for a seamless aesthetic.
8. Inspection and Cleanup
A responsible and professional skylight installation concludes with a thorough inspection. The installers will verify that there are no gaps, uneven surfaces, or potential vulnerabilities that could lead to leaks. Finally, the worksite is thoroughly cleaned, and debris or unused materials are removed.
The Value of Professional Skylight Installation
Professional skylight installation guarantees that your investment is protected. Skilled installers bring expertise to every aspect, including the structural integrity of the installation, impeccable waterproofing, and flawless outcomes. They'll guarantee your skylight functions flawlessly for years to come, maximizing natural light and the beauty of your home.

